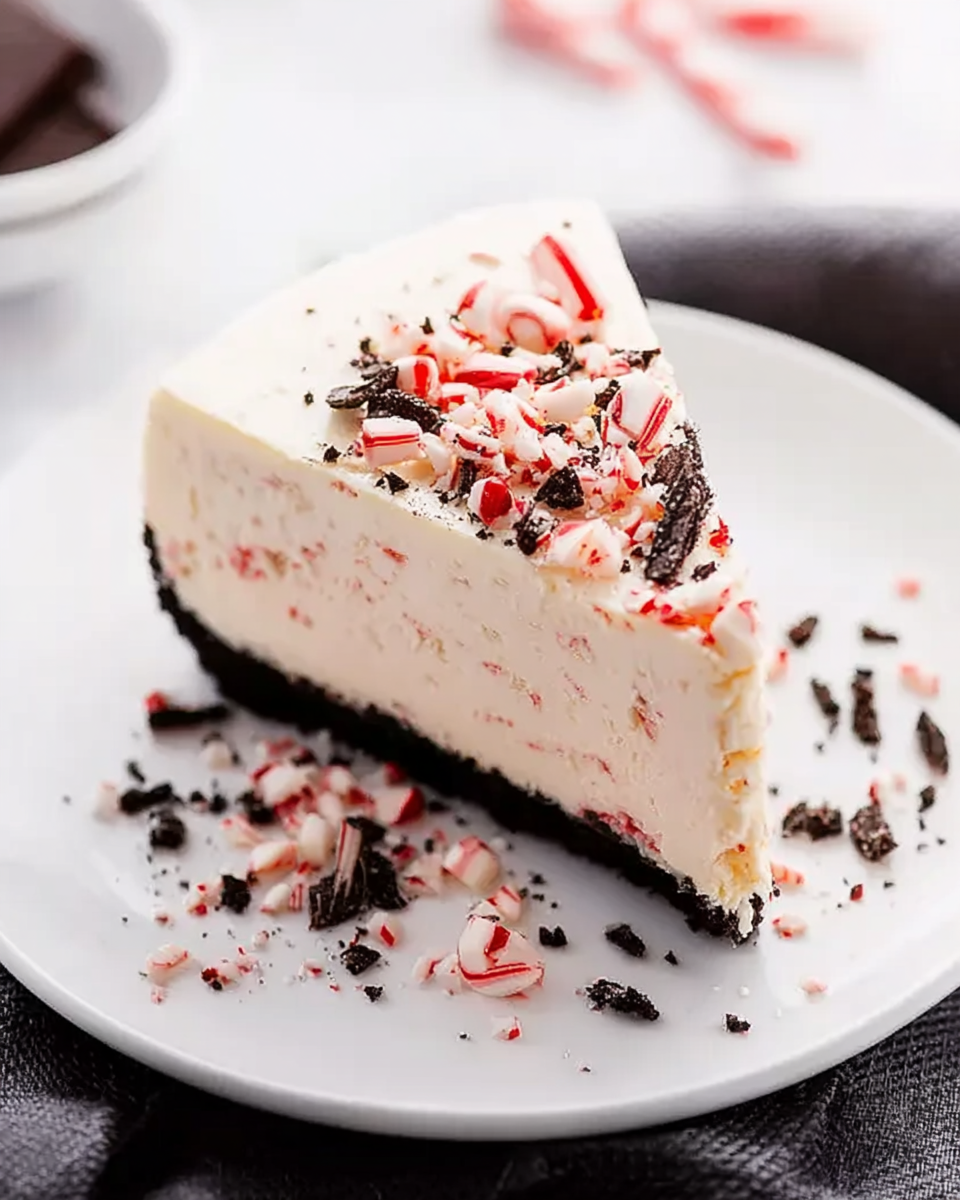
Introduction to No-Bake Peppermint Cheesecake
Ah, the holiday season! It’s a time filled with joy, laughter, and, of course, delicious treats. If you’re looking for a festive dessert that’s as easy to make as it is delightful to eat, let me introduce you to my No-Bake Peppermint Cheesecake. This creamy, dreamy dessert is perfect for gatherings, and it requires no oven time—just a little patience while it chills. Whether you’re hosting a holiday party or simply want to impress your loved ones, this cheesecake is sure to bring smiles and sweet memories to your table.
Why You’ll Love This No-Bake Peppermint Cheesecake
This No-Bake Peppermint Cheesecake is a game-changer for busy cooks like me. It’s quick to whip up, requiring just 30 minutes of prep time, and then it does all the hard work chilling in the fridge. The creamy texture paired with a refreshing peppermint flavor makes it a festive delight. Plus, it’s a crowd-pleaser that will leave your guests raving about your culinary skills!
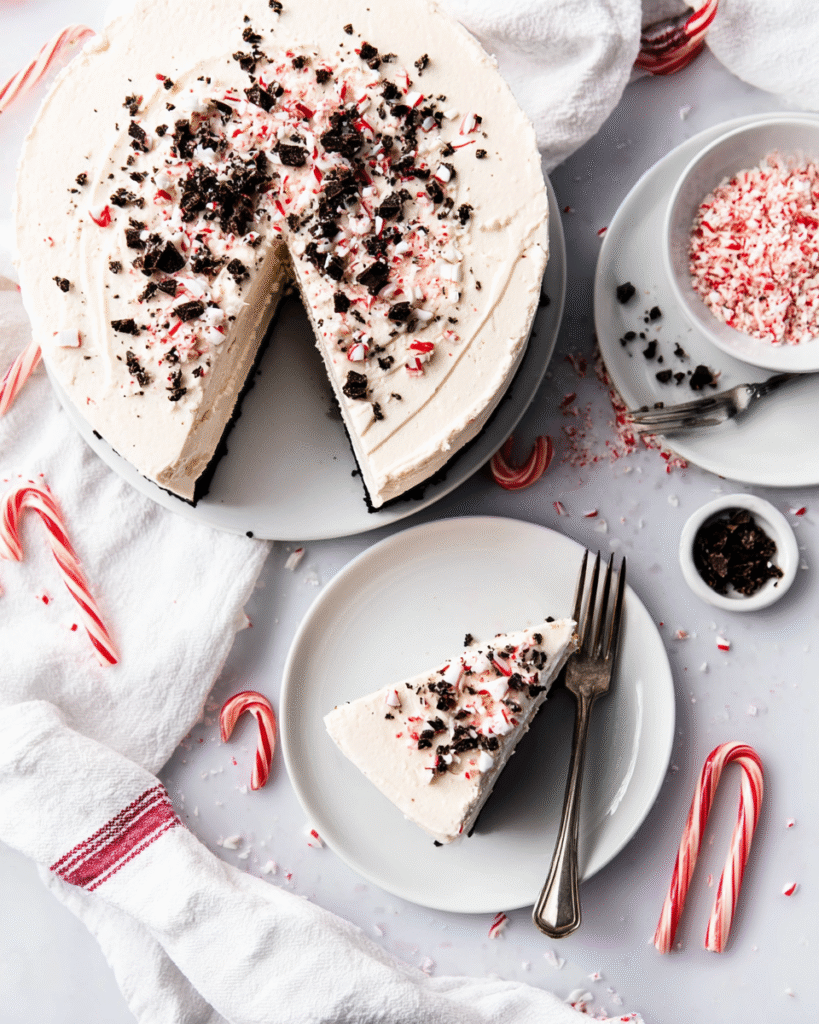
Ingredients for No-Bake Peppermint Cheesecake
Gathering the right ingredients is the first step to creating this festive masterpiece. Here’s what you’ll need:
- Chocolate cookie crumbs: These form the base of your cheesecake. You can use Oreos or chocolate graham crackers for a rich flavor.
- Unsalted butter: Melted butter helps bind the cookie crumbs together, creating a delicious crust.
- Cream cheese: The star of the show! Softened cream cheese gives the cheesecake its creamy texture.
- Powdered sugar: This sweetens the filling and adds a smooth finish. It dissolves easily, making it perfect for no-bake recipes.
- Heavy whipping cream: Whipped to stiff peaks, it adds lightness and volume to the cheesecake.
- White chocolate chips: Melted and cooled, they bring a touch of sweetness and a lovely creaminess to the filling.
- Peppermint extract: This is where the magic happens! Adjust the amount to suit your taste for that refreshing peppermint flavor.
- Food coloring: A few drops of red or pink can add a festive swirl to your cheesecake, making it visually appealing.
- Crushed candy canes: These not only add a delightful crunch but also enhance the peppermint flavor.
- Whipped cream: Use homemade or store-bought to top your cheesecake for an extra creamy finish.
- Garnishes: Crushed candy canes and chocolate shavings make for a beautiful presentation.
For exact measurements, check the bottom of the article where you can find everything listed for easy printing. Happy baking!
How to Make No-Bake Peppermint Cheesecake
Step 1: Prepare the Crust
Start by combining your chocolate cookie crumbs with melted butter in a medium bowl. Mix until the crumbs are fully coated and resemble wet sand. Next, press this mixture firmly into the bottom of a 9-inch springform pan. Make sure it’s even and compact, as this will be the base of your cheesecake. Once done, pop it in the fridge for at least 30 minutes to set while you prepare the filling.
Step 2: Make the Cream Cheese Mixture
In a large bowl, beat the softened cream cheese using an electric mixer until it’s smooth and creamy. This step is crucial for a velvety texture. Gradually add in the powdered sugar, mixing until it’s fully incorporated. You want a sweet, fluffy mixture that will be the heart of your No-Bake Peppermint Cheesecake. Don’t rush; take your time to ensure it’s perfectly blended!
Step 3: Whip the Cream
In a separate bowl, pour in the heavy whipping cream. Using a mixer, whip it until stiff peaks form. This means when you lift the beaters, the cream holds its shape. It’s like magic watching it transform! This whipped cream will add lightness to your cheesecake, making it airy and delightful. Be careful not to over-whip, or it might turn into butter!
Step 4: Combine Ingredients
Now, gently fold the whipped cream into the cream cheese mixture. Use a spatula to combine them without deflating the whipped cream. Next, add the melted white chocolate and peppermint extract, folding until everything is smooth. If you’re feeling festive, add a few drops of food coloring and swirl it lightly for a beautiful marbled effect. Finally, fold in the crushed candy canes for that extra crunch!
Step 5: Assemble the Cheesecake
Spread the creamy filling evenly over your chilled crust. Use a spatula to smooth the top, making it look as pretty as a picture. Once it’s all spread out, cover the cheesecake with plastic wrap and refrigerate it for at least 6 hours. If you can wait overnight, that’s even better! This chilling time allows the flavors to meld beautifully.
Step 6: Garnish and Serve
When you’re ready to serve, remove the cheesecake from the fridge. Top it with a generous layer of whipped cream, then sprinkle crushed candy canes and chocolate shavings on top for that festive touch. Slice it up and watch your guests’ faces light up with joy. Enjoy every creamy, peppermint bite of your No-Bake Peppermint Cheesecake!
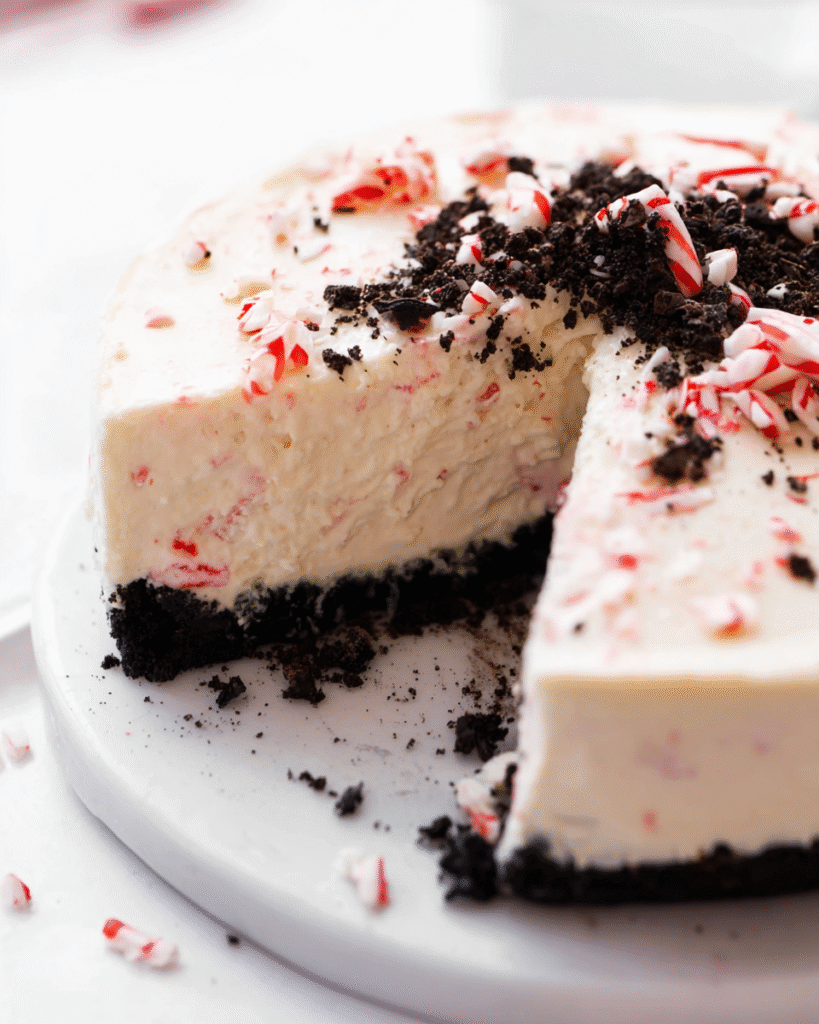
Tips for Success
- Use room temperature cream cheese for a smoother filling.
- Don’t skip the chilling time; it’s essential for the cheesecake to set properly.
- For a cleaner slice, warm your knife in hot water before cutting.
- Feel free to adjust the peppermint extract to suit your taste.
- Store leftovers in an airtight container in the fridge for up to 3 days.
Equipment Needed
- 9-inch springform pan: Perfect for easy removal. A regular pie dish works too!
- Mixing bowls: Use a large bowl for the cream cheese and a medium one for the crust.
- Electric mixer: Ideal for beating cream cheese and whipping cream. A whisk can work in a pinch!
- Spatula: Great for folding and spreading the filling evenly.
Variations of No-Bake Peppermint Cheesecake
- Chocolate Peppermint Cheesecake: Use chocolate cream cheese instead of regular cream cheese for an extra chocolatey twist.
- Vegan Option: Substitute cream cheese with vegan cream cheese and use coconut cream in place of heavy whipping cream for a dairy-free delight.
- Gluten-Free Version: Opt for gluten-free chocolate cookies to make the crust, ensuring everyone can enjoy this festive treat.
- Mint Chocolate Chip: Add mini chocolate chips to the filling for a delightful crunch and extra chocolate flavor.
- Caramel Swirl: Drizzle caramel sauce into the filling before spreading it over the crust for a sweet surprise.
Serving Suggestions for No-Bake Peppermint Cheesecake
- Pair with a warm cup of hot cocoa or peppermint tea for a cozy treat.
- Serve alongside festive fruit like raspberries or strawberries for a pop of color.
- For an elegant touch, add a sprig of mint on top of each slice.
- Present on a decorative platter with extra crushed candy canes for a festive flair.
FAQs about No-Bake Peppermint Cheesecake
Can I make No-Bake Peppermint Cheesecake ahead of time?
Absolutely! This cheesecake can be made up to three days in advance. Just store it in the fridge, and it will be ready to impress your guests when the time comes.
How do I store leftovers?
Store any leftover No-Bake Peppermint Cheesecake in an airtight container in the fridge. It should stay fresh for up to three days, but I doubt it will last that long!
Can I use a different flavor of extract?
Yes! While peppermint is the star here, you can experiment with other extracts like vanilla or almond for a unique twist. Just remember to adjust the amount to your taste.
What can I use instead of heavy whipping cream?
If you’re looking for a lighter option, you can use whipped topping or coconut cream as a substitute. Just make sure it’s well-chilled for the best results!
Is this No-Bake Peppermint Cheesecake suitable for vegetarians?
Yes! This recipe is vegetarian-friendly, making it a delightful option for everyone at your holiday gathering.
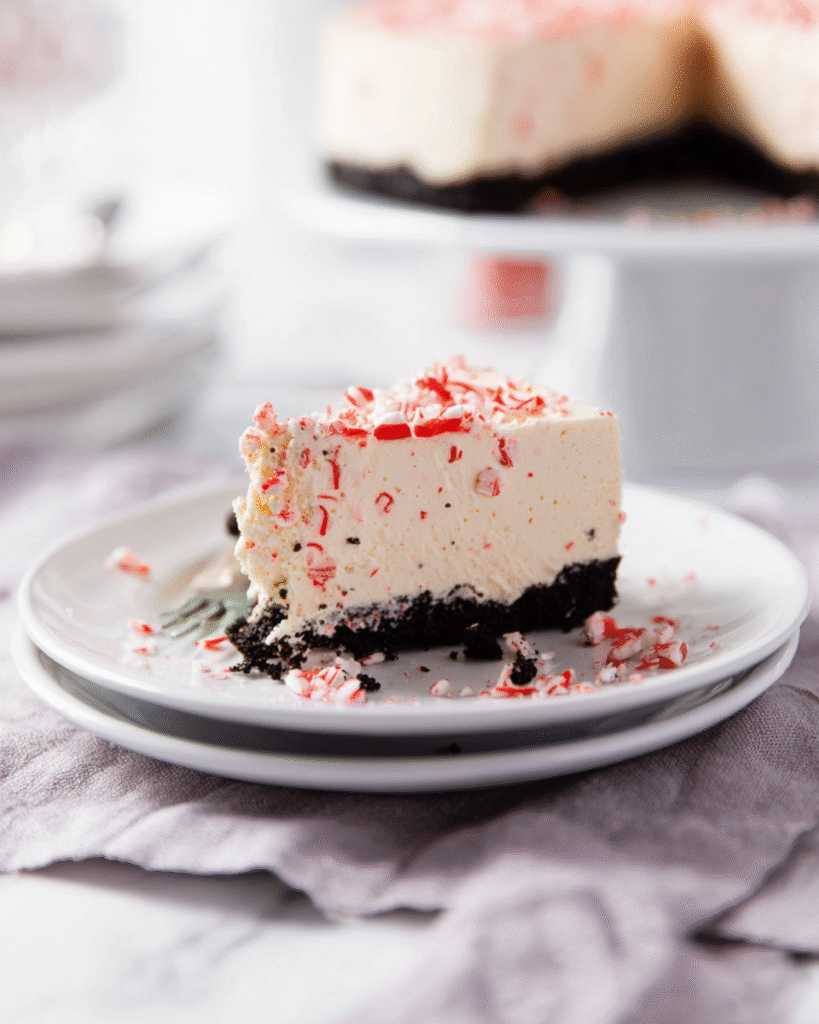
Final Thoughts
Creating this No-Bake Peppermint Cheesecake is more than just whipping up a dessert; it’s about sharing joy and warmth with those you love. The creamy texture and refreshing peppermint flavor make it a delightful treat that captures the essence of the holiday season. Each slice is a celebration, a moment to savor with family and friends. Whether it’s a festive gathering or a cozy night in, this cheesecake brings smiles and sweet memories. So, roll up your sleeves, gather your ingredients, and let the magic of this no-bake wonder fill your home with happiness!
Print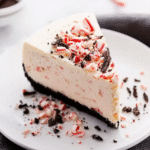
No-Bake Peppermint Cheesecake: Indulge in Festive Delight!
- Total Time: 6 hours 30 minutes
- Yield: 8–10 servings 1x
- Diet: Vegetarian
Description
A delightful and festive no-bake peppermint cheesecake that combines creamy textures with a refreshing peppermint flavor, perfect for holiday gatherings.
Ingredients
- 2 cups chocolate cookie crumbs (Oreo or chocolate graham crackers)
- ½ cup unsalted butter, melted
- 16 oz cream cheese, softened
- 1 cup powdered sugar
- 1½ cups heavy whipping cream
- ½ cup white chocolate chips, melted and cooled
- ½ teaspoon peppermint extract (adjust to taste)
- A few drops red or pink food coloring (optional, for a festive swirl)
- ½ cup crushed candy canes or peppermint candies
- 1 cup whipped cream (homemade or store-bought)
- Crushed candy canes and chocolate shavings, for garnish
Instructions
- In a medium bowl, combine the cookie crumbs and melted butter. Press firmly into the bottom of a 9-inch springform pan. Refrigerate for at least 30 minutes while you prepare the filling.
- In a large bowl, beat the softened cream cheese until smooth and creamy. Add powdered sugar and beat again until fully incorporated.
- In a separate bowl, whip the heavy cream until stiff peaks form. Gently fold the whipped cream into the cream cheese mixture.
- Add the melted white chocolate and peppermint extract, folding until smooth. If desired, add food coloring and swirl lightly for a marble effect. Fold in the crushed candy canes.
- Spread the filling evenly over the chilled crust. Smooth the top with a spatula and refrigerate for at least 6 hours (overnight is best).
- Before serving, top with whipped cream, crushed candy canes, and chocolate shavings. Slice and enjoy your creamy peppermint perfection!
Notes
- Use mint Oreos for an extra peppermint kick.
- For cleaner slices, warm your knife in hot water before cutting.
- Can be made up to 3 days in advance and stored in the fridge.
- Prep Time: 30 minutes
- Cook Time: 0 minutes
- Category: Dessert
- Method: No-Bake
- Cuisine: American
Nutrition
- Serving Size: 1 slice
- Calories: 350
- Sugar: 25g
- Sodium: 200mg
- Fat: 25g
- Saturated Fat: 15g
- Unsaturated Fat: 5g
- Trans Fat: 0g
- Carbohydrates: 30g
- Fiber: 1g
- Protein: 4g
- Cholesterol: 70mg

