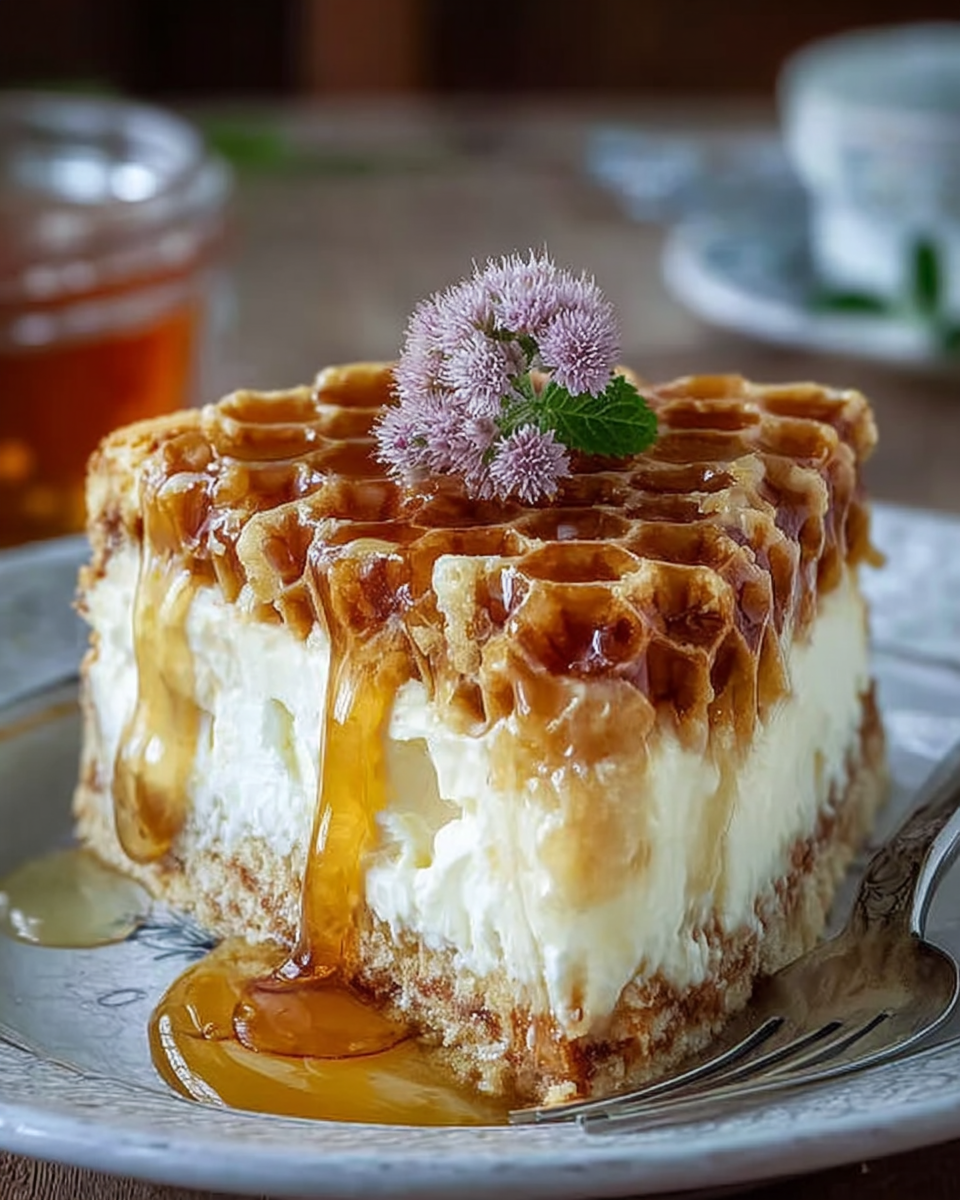
Introduction to Honeycomb Cheesecake Cake
Welcome to the world of sweet indulgence! If you’re looking for a dessert that’s both impressive and easy to whip up, the Honeycomb Cheesecake Cake is your answer. This delightful treat combines a creamy cheesecake filling with a crunchy honeycomb topping, making it perfect for any occasion. Whether you’re celebrating a birthday or just want to brighten up a regular Tuesday, this cake is sure to bring smiles. Trust me, once you take a bite, you’ll be hooked on its luscious flavors and delightful textures!
Why You’ll Love This Honeycomb Cheesecake Cake
This Honeycomb Cheesecake Cake is a true crowd-pleaser! It’s incredibly easy to make, requiring no baking, which means less time in the kitchen and more time enjoying with loved ones. The combination of creamy cheesecake and crunchy honeycomb creates a delightful contrast that dances on your taste buds. Plus, it’s a showstopper that will impress anyone who lays eyes on it. Trust me, you’ll want to make this again and again!
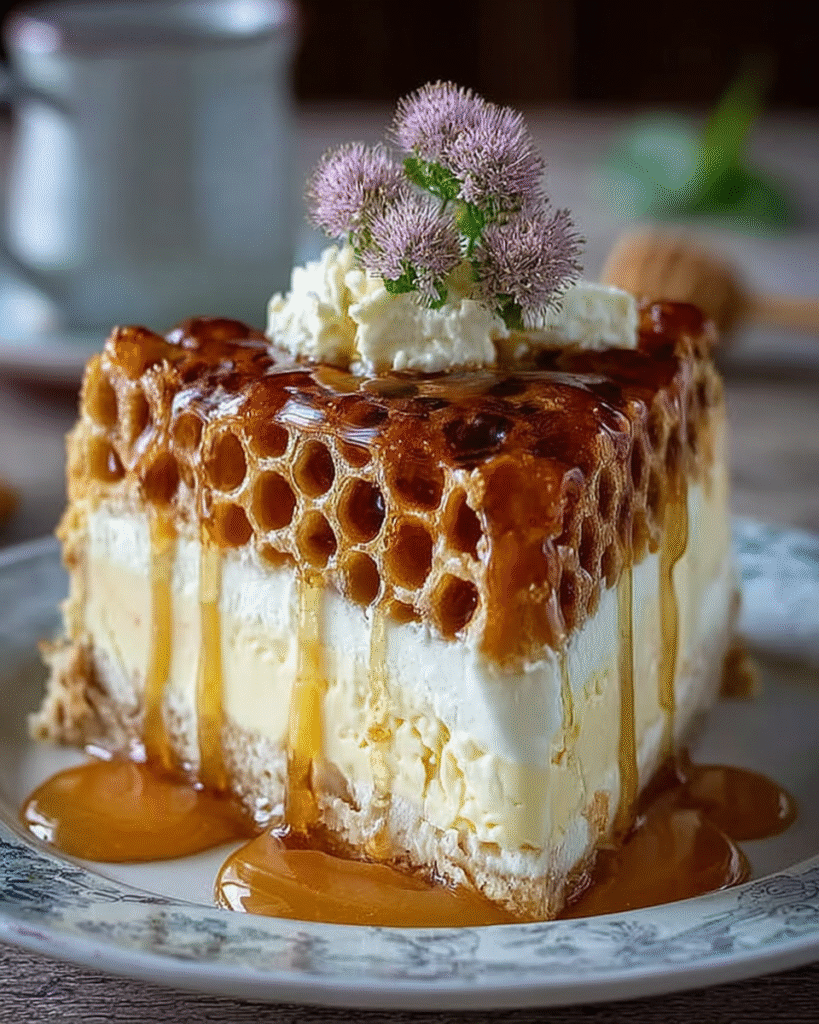
Ingredients for Honeycomb Cheesecake Cake
Gathering the right ingredients is the first step to creating your Honeycomb Cheesecake Cake. Here’s what you’ll need:
- Graham cracker crumbs: These form the base of your crust. You can also use crushed digestive biscuits for a slightly different flavor.
- Unsalted butter: This adds richness to the crust. Make sure it’s melted for easy mixing.
- Honey: A touch of sweetness that enhances both the crust and the honeycomb candy.
- Cream cheese: The star of the cheesecake filling! It should be softened to ensure a smooth texture.
- Heavy cream: Whipped to perfection, it adds lightness and creaminess to the filling.
- Granulated sugar: Sweetens the cheesecake and balances the flavors beautifully.
- Vanilla extract: A classic flavor enhancer that brings warmth to the cheesecake.
- Lemon juice (optional): Just a splash can brighten the flavors, making the cheesecake even more delightful.
- Unflavored gelatin (optional): If you prefer a firmer texture, this will help stabilize your cheesecake.
- Warm water: Used for dissolving gelatin, ensuring it blends smoothly into the filling.
- Sugar (for honeycomb): This is the main ingredient for creating that crunchy candy topping.
- Golden syrup or corn syrup: Adds sweetness and helps achieve the right texture for the honeycomb.
- Baking soda: This is what gives the honeycomb its airy texture, making it light and crunchy.
- Honey (for glaze): A drizzle of honey on top adds a beautiful finish and extra sweetness.
- Warm water (to loosen honey): Sometimes, honey can be thick, so a little warm water helps it pour easily.
For exact measurements, check the bottom of the article where you can find everything listed for easy printing. Happy cooking!
How to Make Honeycomb Cheesecake Cake
Now that you have all your ingredients ready, let’s dive into the fun part—making the Honeycomb Cheesecake Cake! Follow these simple steps, and you’ll be on your way to creating a dessert that will wow your friends and family.
Step 1: Make the Honeycomb Candy
First things first, let’s create that crunchy honeycomb candy. Start by lining a baking sheet with parchment paper. This will prevent the honeycomb from sticking.
In a saucepan, combine sugar, honey, and golden syrup. Heat it over medium heat without stirring. Just swirl the pan gently to mix. Watch closely as it melts and turns a beautiful golden amber color. This is where the magic happens!
Once it reaches that lovely color, remove it from the heat. Quickly whisk in the baking soda. Be careful; it will bubble up! Pour the mixture onto your prepared baking sheet and let it cool completely. Once set, break it into chunks. This candy will add a delightful crunch to your cheesecake!
Step 2: Prepare the Crust
Next, let’s make the crust. In a bowl, combine graham cracker crumbs, melted butter, and honey. Mix until everything is well combined. The mixture should resemble wet sand.
Now, press this mixture firmly into the bottom of a springform pan. Use the back of a measuring cup or your fingers to ensure it’s packed tightly. This will give you a sturdy base for your cheesecake. Once done, pop it in the fridge to chill while you prepare the filling.
Step 3: Make the Cheesecake Filling
Time to whip up that creamy filling! In a large bowl, beat the softened cream cheese and granulated sugar until smooth. You want it to be creamy and free of lumps.
Add in the vanilla extract and lemon juice, mixing until combined. In a separate bowl, whip the heavy cream until stiff peaks form. This is where the magic of lightness comes in!
Gently fold the whipped cream into the cream cheese mixture. Be careful not to deflate it; you want to keep that airy texture. If you’re using gelatin, dissolve it in warm water and mix it into the filling for a firmer texture.
Step 4: Assemble the Cheesecake
Now, let’s bring it all together! Pour half of the cheesecake filling over the chilled crust. Spread it out evenly.
Next, sprinkle a generous amount of your honeycomb pieces over the filling. Then, pour the remaining cheesecake mixture on top, smoothing it out with a spatula. Cover it with plastic wrap and refrigerate for at least 6 hours, or overnight if you can wait!
Step 5: Add the Honeycomb Glaze
Once your cheesecake is set, it’s time for the finishing touch! Arrange the remaining honeycomb pieces on top of the cheesecake.
Warm the honey slightly in the microwave or on the stove. If it’s too thick, add a tablespoon of warm water to loosen it up. Drizzle the honey over the cheesecake, letting it fill in the honeycomb pattern.
Chill the cheesecake for another 30 minutes before slicing. This will help the glaze set just right. Now, you’re ready to serve this stunning dessert!
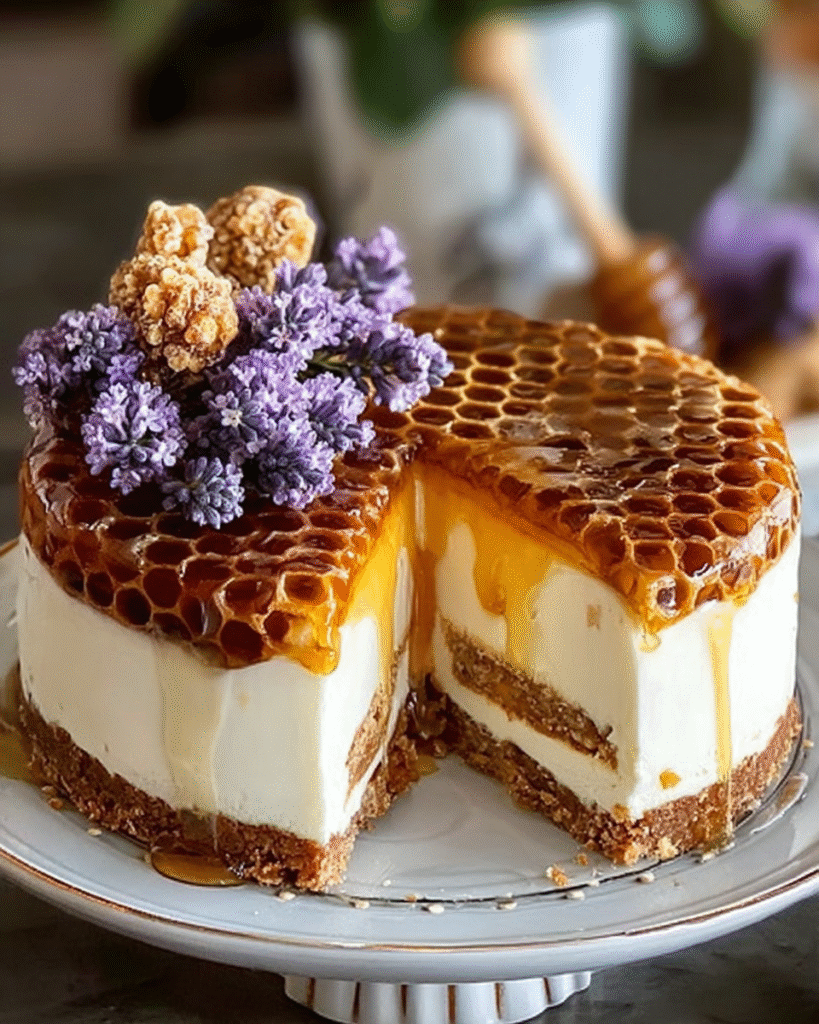
Tips for Success
- Make sure your cream cheese is at room temperature for a smooth filling.
- Chill the crust well to prevent it from crumbling when you slice the cheesecake.
- Use a sharp knife dipped in hot water for clean cuts.
- Feel free to customize the honeycomb pieces for added texture.
- Keep the cheesecake chilled until serving to maintain its shape.
Equipment Needed
- Springform pan: Essential for easy removal. A regular cake pan works too, but slicing will be trickier.
- Mixing bowls: Use at least two—one for the filling and one for whipping cream.
- Whisk and spatula: For mixing and folding ingredients smoothly.
- Parchment paper: Helps with the honeycomb candy. Wax paper can be a substitute.
- Microwave or stove: For warming honey and melting ingredients.
Variations
- Chocolate Drizzle: Add a rich chocolate drizzle on top for a decadent twist. Melt dark or milk chocolate and drizzle it over the honeycomb.
- Fruit Topping: Fresh berries or sliced fruits like strawberries or kiwi can add a refreshing touch. They pair beautifully with the creamy cheesecake.
- Nutty Crunch: Incorporate chopped nuts like almonds or pecans into the honeycomb for added texture and flavor.
- Vegan Option: Substitute cream cheese with a vegan alternative and use coconut cream instead of heavy cream for a plant-based version.
- Flavor Infusions: Experiment with different extracts like almond or coconut to give your cheesecake a unique flavor profile.
Serving Suggestions
- Pair with a dollop of whipped cream for extra creaminess.
- Serve alongside fresh berries for a pop of color and flavor.
- Complement with a cup of coffee or tea for a delightful afternoon treat.
- Garnish with mint leaves for a fresh touch.
- Present on a beautiful cake stand to impress your guests!
FAQs about Honeycomb Cheesecake Cake
Can I make the Honeycomb Cheesecake Cake ahead of time?
Absolutely! This cake is perfect for making ahead. Just prepare it a day in advance and let it chill overnight. The flavors will meld beautifully, making it even more delicious!
How do I store leftovers of the Honeycomb Cheesecake Cake?
Store any leftovers in the fridge, covered tightly. It will stay fresh for up to four days. Just remember to keep it chilled until you’re ready to serve!
Can I use a different type of crust for the Honeycomb Cheesecake Cake?
Yes! While graham cracker crumbs are traditional, you can use crushed cookies like Oreos or digestive biscuits for a unique twist. Just make sure they’re finely crushed for a good texture.
Is it possible to make a gluten-free version of the Honeycomb Cheesecake Cake?
Definitely! Use gluten-free graham crackers or a nut-based crust instead. This way, everyone can enjoy this delightful dessert!
What can I substitute for heavy cream in the Honeycomb Cheesecake Cake?
If you’re looking for a lighter option, you can use whipped coconut cream or a dairy-free alternative. Just ensure it’s well-chilled for the best results!
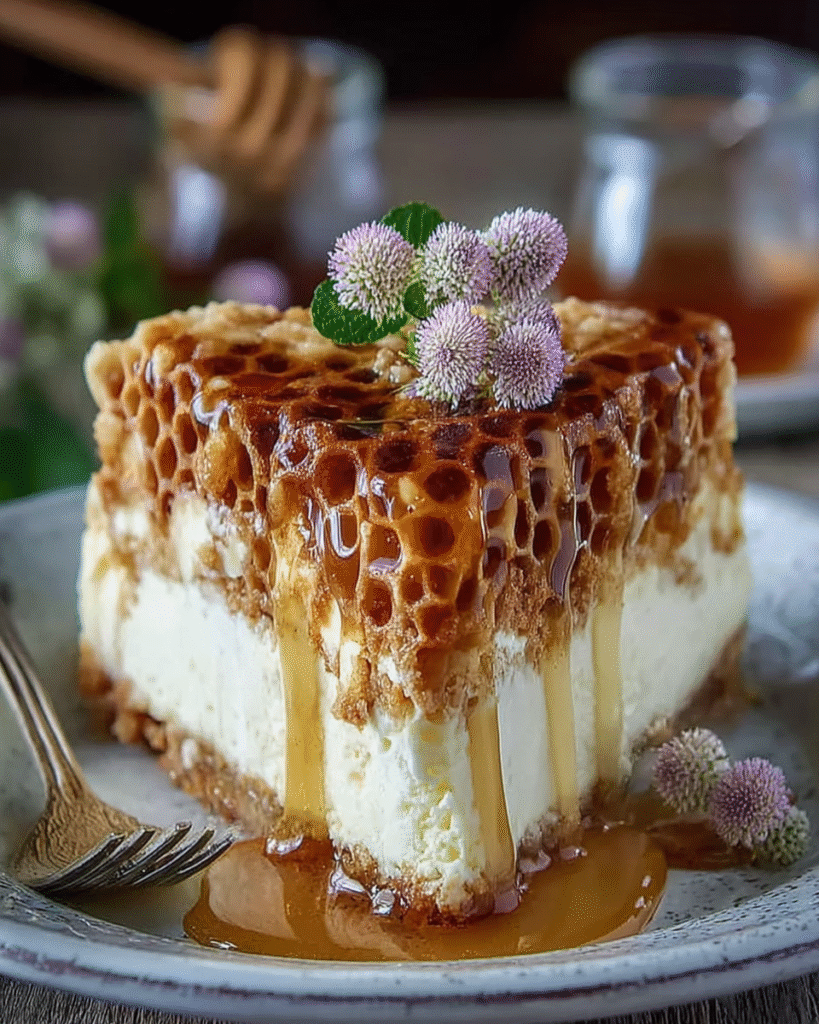
Final Thoughts
Creating this Honeycomb Cheesecake Cake is more than just baking; it’s about crafting a moment of joy. The creamy filling paired with the crunchy honeycomb is a delightful experience that brings smiles to faces. Whether you’re celebrating a special occasion or simply treating yourself, this cake is sure to impress. I love how it transforms an ordinary day into something extraordinary. So, gather your ingredients, roll up your sleeves, and dive into this sweet adventure. Trust me, every slice will be a reminder of the happiness that comes from sharing delicious food with loved ones!
Print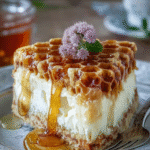
Honeycomb Cheesecake Cake: A Sweet Delight Awaits!
- Total Time: 6 hours 45 minutes
- Yield: 8–10 servings 1x
- Diet: Vegetarian
Description
A delightful Honeycomb Cheesecake Cake that combines a creamy cheesecake filling with a crunchy honeycomb topping, perfect for any occasion.
Ingredients
- 2 cups graham cracker crumbs (or digestive biscuits, crushed)
- ½ cup unsalted butter, melted
- 2 tablespoons honey
- 16 oz (450 g) cream cheese, softened
- 1 cup heavy cream (cold)
- ¾ cup granulated sugar
- 1 teaspoon vanilla extract
- 1 tablespoon lemon juice (optional, for brightness)
- 2 teaspoons unflavored gelatin (optional, for firmer texture)
- 3 tablespoons warm water (for dissolving gelatin)
- ½ cup sugar (for honeycomb)
- 2 tablespoons honey (for honeycomb)
- 2 tablespoons golden syrup or corn syrup (for honeycomb)
- 2 teaspoons baking soda (for honeycomb)
- ½ cup honey (for glaze)
- 1 tablespoon warm water (to loosen honey if needed)
Instructions
- Make the Honeycomb Candy: Line a baking sheet with parchment paper. In a saucepan, heat sugar, honey, and golden syrup over medium heat without stirring. Swirl gently until the sugar melts and turns golden amber. Remove from heat, whisk in baking soda, and pour onto the prepared baking sheet. Let cool and break into chunks.
- Prepare the Crust: Combine graham cracker crumbs, melted butter, and honey in a bowl. Press firmly into the bottom of a springform pan (8–9 inch) and chill in the fridge.
- Make the Cheesecake Filling: Beat softened cream cheese and sugar until smooth. Add vanilla extract and lemon juice. In a separate bowl, whip heavy cream until stiff peaks form, then fold into the cream cheese mixture. (Optional) Dissolve gelatin in warm water, cool slightly, and mix into the filling.
- Assemble the Cheesecake: Pour half the cheesecake mixture over the crust, sprinkle honeycomb pieces, then add the remaining cheesecake mixture. Smooth it out and refrigerate for at least 6 hours or overnight.
- Add the Honeycomb Glaze: Once set, arrange honeycomb pieces on top. Warm honey slightly and pour over the cheesecake, letting it fill the honeycomb pattern. Chill for another 30 minutes before slicing.
Notes
- To create a honeycomb pattern, use a silicone mold or press bubble wrap over warm honey.
- Keep the cheesecake chilled until serving.
- Store leftovers in the fridge for up to 4 days.
- Prep Time: 30 minutes
- Cook Time: 15 minutes
- Category: Dessert
- Method: No-Bake
- Cuisine: American
Nutrition
- Serving Size: 1 slice
- Calories: 350
- Sugar: 25g
- Sodium: 150mg
- Fat: 22g
- Saturated Fat: 12g
- Unsaturated Fat: 8g
- Trans Fat: 0g
- Carbohydrates: 30g
- Fiber: 1g
- Protein: 4g
- Cholesterol: 70mg

