Introduction to King’s Hawaiian Cheesecake Danish
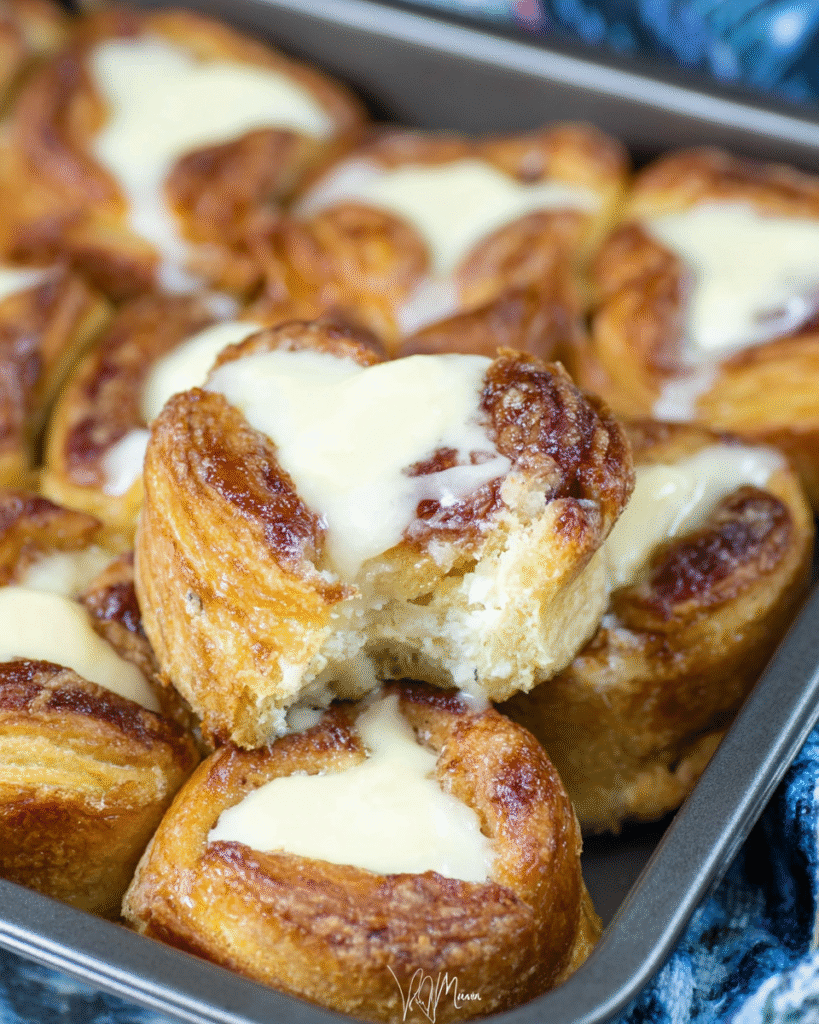
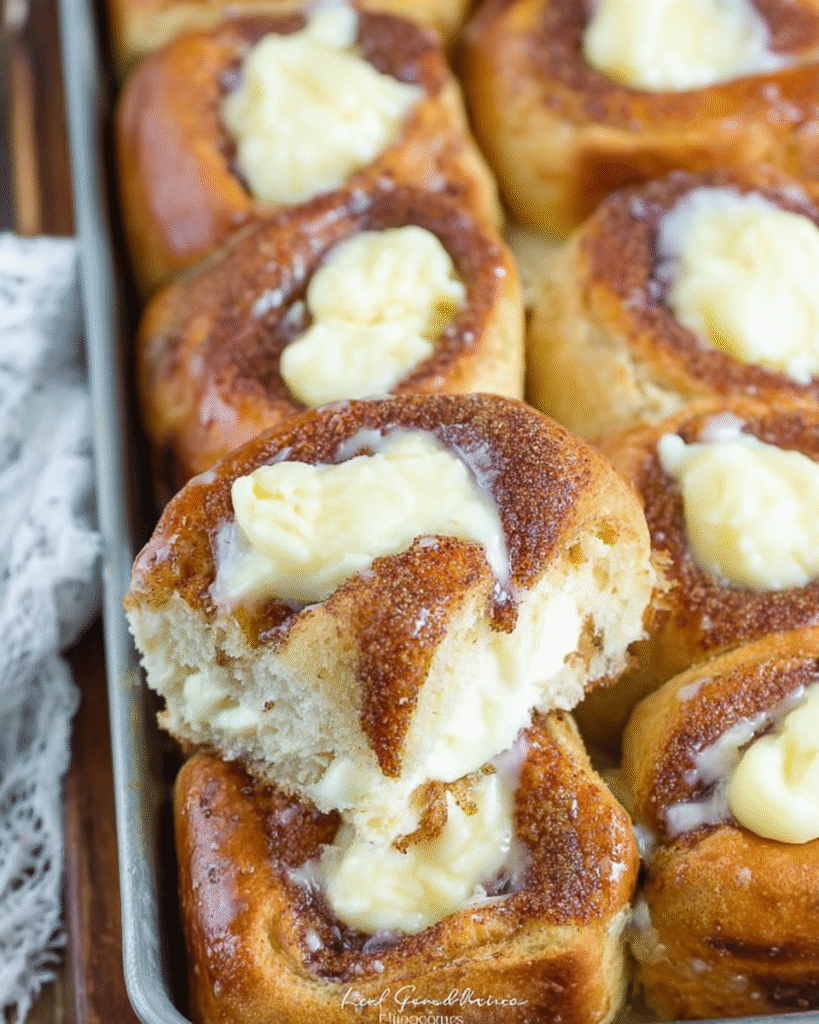
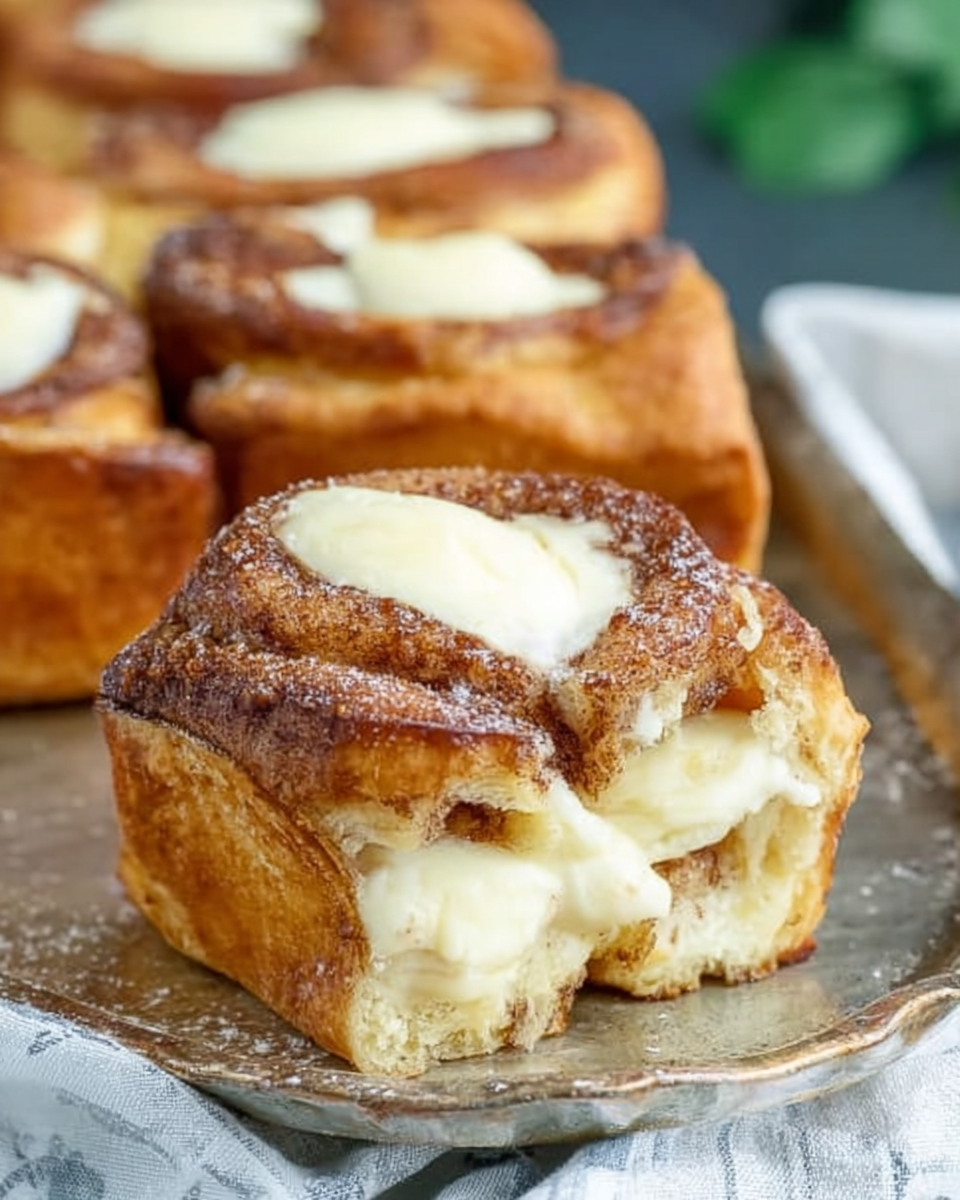
Welcome to the delightful world of King’s Hawaiian Cheesecake Danish! If you’re like me, you know that life can get busy, and sometimes you need a quick solution to satisfy your sweet tooth. This recipe is not just easy; it’s a creamy, dreamy treat that will impress your loved ones. Imagine the warm, sweet aroma wafting through your kitchen as these golden rolls bake to perfection. Whether it’s a cozy brunch or a last-minute dessert, this King’s Hawaiian Cheesecake Danish is sure to bring smiles and happy bellies to your table!
Why You’ll Love This King’s Hawaiian Cheesecake Danish
This King’s Hawaiian Cheesecake Danish is a game-changer for busy days. It’s incredibly easy to whip up, taking just 35 minutes from start to finish. The sweet rolls provide a soft, fluffy base, while the creamy cheesecake filling adds a rich, indulgent touch. Plus, it’s versatile enough for any occasion, whether you’re hosting friends or treating yourself. Trust me, once you try it, you’ll be hooked!
Ingredients for King’s Hawaiian Cheesecake Danish
Gathering the right ingredients is the first step to creating this delicious King’s Hawaiian Cheesecake Danish. Here’s what you’ll need:
- King’s Hawaiian Sweet Rolls: These fluffy rolls are the star of the show, providing a soft and sweet base for your cheesecake filling.
- Unsalted Butter: Melted butter adds richness and helps the cinnamon-brown sugar mixture stick to the rolls.
- Light Brown Sugar: This sugar brings a deep, caramel-like flavor that pairs beautifully with the cinnamon.
- Ground Cinnamon: A warm spice that adds a cozy touch to the rolls, making them irresistible.
- Vanilla Extract: A splash of vanilla enhances the sweetness and adds depth to both the rolls and the filling.
- Cream Cheese: The creamy base of the cheesecake filling, providing that luscious texture we all love.
- Granulated Sugar: This sweetener balances the tanginess of the cream cheese, making the filling perfectly sweet.
- Egg Yolk: This ingredient helps bind the filling together, giving it a rich, custardy consistency.
- Powdered Sugar (optional glaze): For those who want an extra touch of sweetness, this sugar creates a lovely glaze.
- Milk or Cream (optional glaze): A splash of milk or cream helps achieve the right consistency for the glaze.
- Vanilla Extract (optional glaze): Just a hint of vanilla in the glaze adds a delightful flavor boost.
For exact measurements, check the bottom of the article where you can find everything listed for easy printing. Happy cooking!

How to Make King’s Hawaiian Cheesecake Danish
Step 1: Preheat Oven
First things first, preheat your oven to 350°F (175°C). This step is crucial because it ensures even baking. While the oven warms up, line a 9×13 baking pan with parchment paper or give it a light grease. This will help your King’s Hawaiian Cheesecake Danish come out easily and keep it from sticking.
Step 2: Prepare the Rolls
Next, grab your package of King’s Hawaiian Sweet Rolls. Without separating them, use the back of a spoon or your fingers to gently press a small well into the center of each roll. This is where the magic happens! Melt the butter and mix in the brown sugar, cinnamon, and vanilla extract. Brush this delicious cinnamon-butter mixture generously over the tops and into the wells of each roll. Trust me, your kitchen will smell heavenly!
Step 3: Make the Cheesecake Filling
Now, let’s whip up that creamy cheesecake filling! In a medium bowl, beat together the softened cream cheese, granulated sugar, egg yolk, and vanilla extract until it’s smooth and creamy. This filling is the heart of your King’s Hawaiian Cheesecake Danish, so make sure it’s well mixed and free of lumps!
Step 4: Bake
It’s time to bake! Place your prepared rolls in the oven and bake uncovered for 17–20 minutes. Keep an eye on them; you’ll know they’re done when the rolls are golden brown and the cheesecake filling is set. The aroma will be irresistible, and you might find it hard to wait!
Step 5: Add Optional Glaze
For an extra touch of sweetness, let’s make a glaze! While the rolls are slightly warm, whisk together powdered sugar, milk, and vanilla extract until smooth. Drizzle this glaze over the rolls for a delightful finish. It adds a beautiful shine and a sweet kick that takes your King’s Hawaiian Cheesecake Danish to the next level!
Tips for Success
- Make sure your cream cheese is softened for easy mixing; it should be at room temperature.
- Don’t rush the baking time; golden brown rolls mean a perfect texture.
- Feel free to experiment with spices like nutmeg or pumpkin pie spice for a seasonal twist.
- For a fun presentation, serve with fresh berries or a dollop of whipped cream.
- Store leftovers in an airtight container to keep them fresh and delicious!
Equipment Needed
- Baking Pan: A 9×13 inch pan works best, but you can use any similar-sized dish.
- Parchment Paper: This helps with easy removal; aluminum foil is a good alternative.
- Mixing Bowls: A medium bowl for the filling; any size will do.
- Whisk: A fork can substitute for mixing the glaze.
- Spoon: Use it to create wells in the rolls and for drizzling glaze.
Variations
- Fruit-Filled Delight: Add a spoonful of your favorite fruit preserves or fresh fruit like blueberries or strawberries into the wells before adding the cheesecake filling for a fruity twist.
- Chocolate Lovers: Mix in some mini chocolate chips into the cheesecake filling for a rich, chocolatey flavor that pairs beautifully with the sweet rolls.
- Nutty Crunch: Sprinkle chopped nuts, like pecans or walnuts, on top of the glaze for added texture and a nutty flavor.
- Gluten-Free Option: Use gluten-free sweet rolls to make this recipe suitable for those with gluten sensitivities.
- Vegan Adaptation: Substitute cream cheese with a vegan alternative and use a flax egg instead of the egg yolk for a plant-based version.
Serving Suggestions
- Pair your King’s Hawaiian Cheesecake Danish with a hot cup of coffee or a refreshing iced tea for a delightful contrast.
- Serve with fresh fruit like strawberries or raspberries to add a pop of color and freshness.
- For a brunch gathering, present on a beautiful platter, drizzled with extra glaze for an eye-catching display.
- Add a dollop of whipped cream on the side for an indulgent touch.

FAQs about King’s Hawaiian Cheesecake Danish
Can I make King’s Hawaiian Cheesecake Danish ahead of time?
Absolutely! You can prepare the rolls and filling the night before. Just cover them and store in the fridge. Bake them fresh in the morning for a warm treat!
What can I substitute for cream cheese?
If you’re looking for a lighter option, you can use Greek yogurt or a vegan cream cheese alternative. Both will give you a creamy texture without sacrificing flavor.
How do I store leftovers?
Store any leftover King’s Hawaiian Cheesecake Danish in an airtight container in the fridge. They’ll stay fresh for up to three days. Just pop them in the microwave for a few seconds to warm them up!
Can I freeze the King’s Hawaiian Cheesecake Danish?
Yes, you can freeze them! Wrap the rolls tightly in plastic wrap and then in aluminum foil. They’ll keep well for up to a month. Thaw in the fridge before reheating.
What’s the best way to serve King’s Hawaiian Cheesecake Danish?
Serve them warm, drizzled with the optional glaze, and perhaps with a side of fresh berries or whipped cream. It’s a perfect way to impress your guests!
Final Thoughts
Making King’s Hawaiian Cheesecake Danish is more than just baking; it’s about creating moments of joy. The soft, sweet rolls combined with the creamy cheesecake filling bring a smile to my face every time. Whether it’s a lazy Sunday morning or a festive gathering, this recipe is a delightful treat that everyone will love. Plus, the ease of preparation means you can focus on what truly matters—sharing delicious food with family and friends. So, roll up your sleeves, embrace the sweet aroma, and enjoy the happiness this King’s Hawaiian Cheesecake Danish brings to your table!
Print
King’s Hawaiian Cheesecake Danish: Indulge in This Easy Recipe!
- Total Time: 35 minutes
- Yield: 12 servings 1x
- Diet: Vegetarian
Description
Indulge in the delightful King’s Hawaiian Cheesecake Danish, a sweet and creamy treat perfect for any occasion.
Ingredients
- 1 package King’s Hawaiian Sweet Rolls (12-count)
- 4 tbsp unsalted butter, melted
- 1/4 cup light brown sugar
- 1 tsp ground cinnamon
- 1 tsp vanilla extract
- 8 oz cream cheese, softened
- 1/4 cup granulated sugar
- 1 tsp vanilla extract
- 1 large egg yolk
- 1/2 cup powdered sugar (optional glaze)
- 1–2 tbsp milk or cream (optional glaze)
- 1/2 tsp vanilla extract (optional glaze)
Instructions
- Preheat Oven: Preheat to 350°F (175°C). Line a baking pan (9×13) with parchment paper or lightly grease it.
- Prepare the Rolls: Without separating the rolls, use the back of a spoon (or your fingers) to press a small well into the center of each roll. Melt the butter and stir in brown sugar, cinnamon, and vanilla extract. Brush this cinnamon-butter mixture generously over the tops and into the wells of each roll.
- Make the Cheesecake Filling: In a medium bowl, beat together cream cheese, sugar, egg yolk, and vanilla extract until smooth and creamy. Spoon about 1 tablespoon of the cheesecake mixture into the well of each roll.
- Bake: Bake uncovered for 17–20 minutes, or until the rolls are golden brown and the cheesecake filling is set.
- Add Optional Glaze: While slightly warm, whisk together powdered sugar, milk, and vanilla extract to make the glaze. Drizzle over the rolls for a sweet finish.
Notes
- Want a fall twist? Sprinkle with pumpkin pie spice or add a spoonful of apple pie filling before baking.
- For extra decadence, drizzle with caramel or honey butter glaze after baking.
- Store leftovers covered in the fridge for up to 3 days. Reheat for 10 seconds in the microwave before serving.
- Prep Time: 15 minutes
- Cook Time: 20 minutes
- Category: Dessert
- Method: Baking
- Cuisine: American
Nutrition
- Serving Size: 1 roll
- Calories: 210
- Sugar: 10g
- Sodium: 150mg
- Fat: 9g
- Saturated Fat: 5g
- Unsaturated Fat: 3g
- Trans Fat: 0g
- Carbohydrates: 30g
- Fiber: 1g
- Protein: 3g
- Cholesterol: 30mg


